Showing posts with label Create. Show all posts
Wednesday, October 6, 2010
Thursday, September 9, 2010
Handmade Gifts #1 - Money Pocket
My sweet neice, Maggie, turned 6 today. I made her a little drawstring bag and embroidered her age on it. I put 6 dollar coins in the bag to make a perfectly lovely gift. I hope she likes it!
Wednesday, September 8, 2010
Simple Skirts
Yesterday I made Nola this skirt for school.
One of my earliest memories is staying with my nanny in Cambridge, England and her making me a quick skirt while my mum was out. It was a simple cotton skirt - very flowery as was her way.
I was so excited and completely amazed that she could make a piece of clothing so quickly and without a pattern.
Wednesday, September 1, 2010
School Bags
This project was a definite collaboration between the girls and I. The girls drew self portraits in chalk and then I embroidered their pictures and made the bags. I am really pleased how the bags came out and the girls are very proud of them. And the best thing is that their first school bags are so meaningful, so personalized and so them.
Wednesday, August 25, 2010
Kids Photo Exhibition at lilla a

Check out lilla a - she is hosting a kids photo exhibition. It is so much fun to collaborate with other kids from all over the world to create a masterpiece. I know my girls will have so much fun taking pictures for this project. I hope you will consider joining in too.
Tuesday, August 24, 2010
School Slippers
Yesterday we celebrated the girls' first day of Waldorf pre-school. The girls did great, but Eric and I were a nervous wreck.
I'm not sure if I made these slippers (here is the pattern) for the girls or for a mummy who needed to send her babes off surrounded by the comforts of home. I'm not sure if my story (that each little hand-stitch was a mummy hug) was for them or me.
I watched these sweet girls of mine, with slippers in tow, dance off into class and not look back. And I picked up hot, tired and very happy girls - who felt their mummy hugs all morning long.
Yes, it was good day at school.
Thursday, August 19, 2010
Crafty Birds - Kid-made baby gift
Using fabric markers on plain burp cloths, the girls and boys made sweet gifts for baby Molly.
This is Nola's gift - a mummy with a baby inside.
Labels:
Celebrate,
Create,
Curly Birds Tutorial,
Handmade Gifts
Tuesday, August 17, 2010
Party Hats for Molly
To celebrate the birth of baby Molly, Willie and JT and Nola and Kira all decided weeks ago that she needed a birthday party. These 4 friends (all 3 years old) created the perfect celebration for their new little sister and friend.
Of course, I was delighted to sew felt party hats. The kids made cards and decorated burp cloths. We ate tiny cupcakes and sang happy birthday.
Welcome Molly!
Friday, July 23, 2010
With Love From Grandma
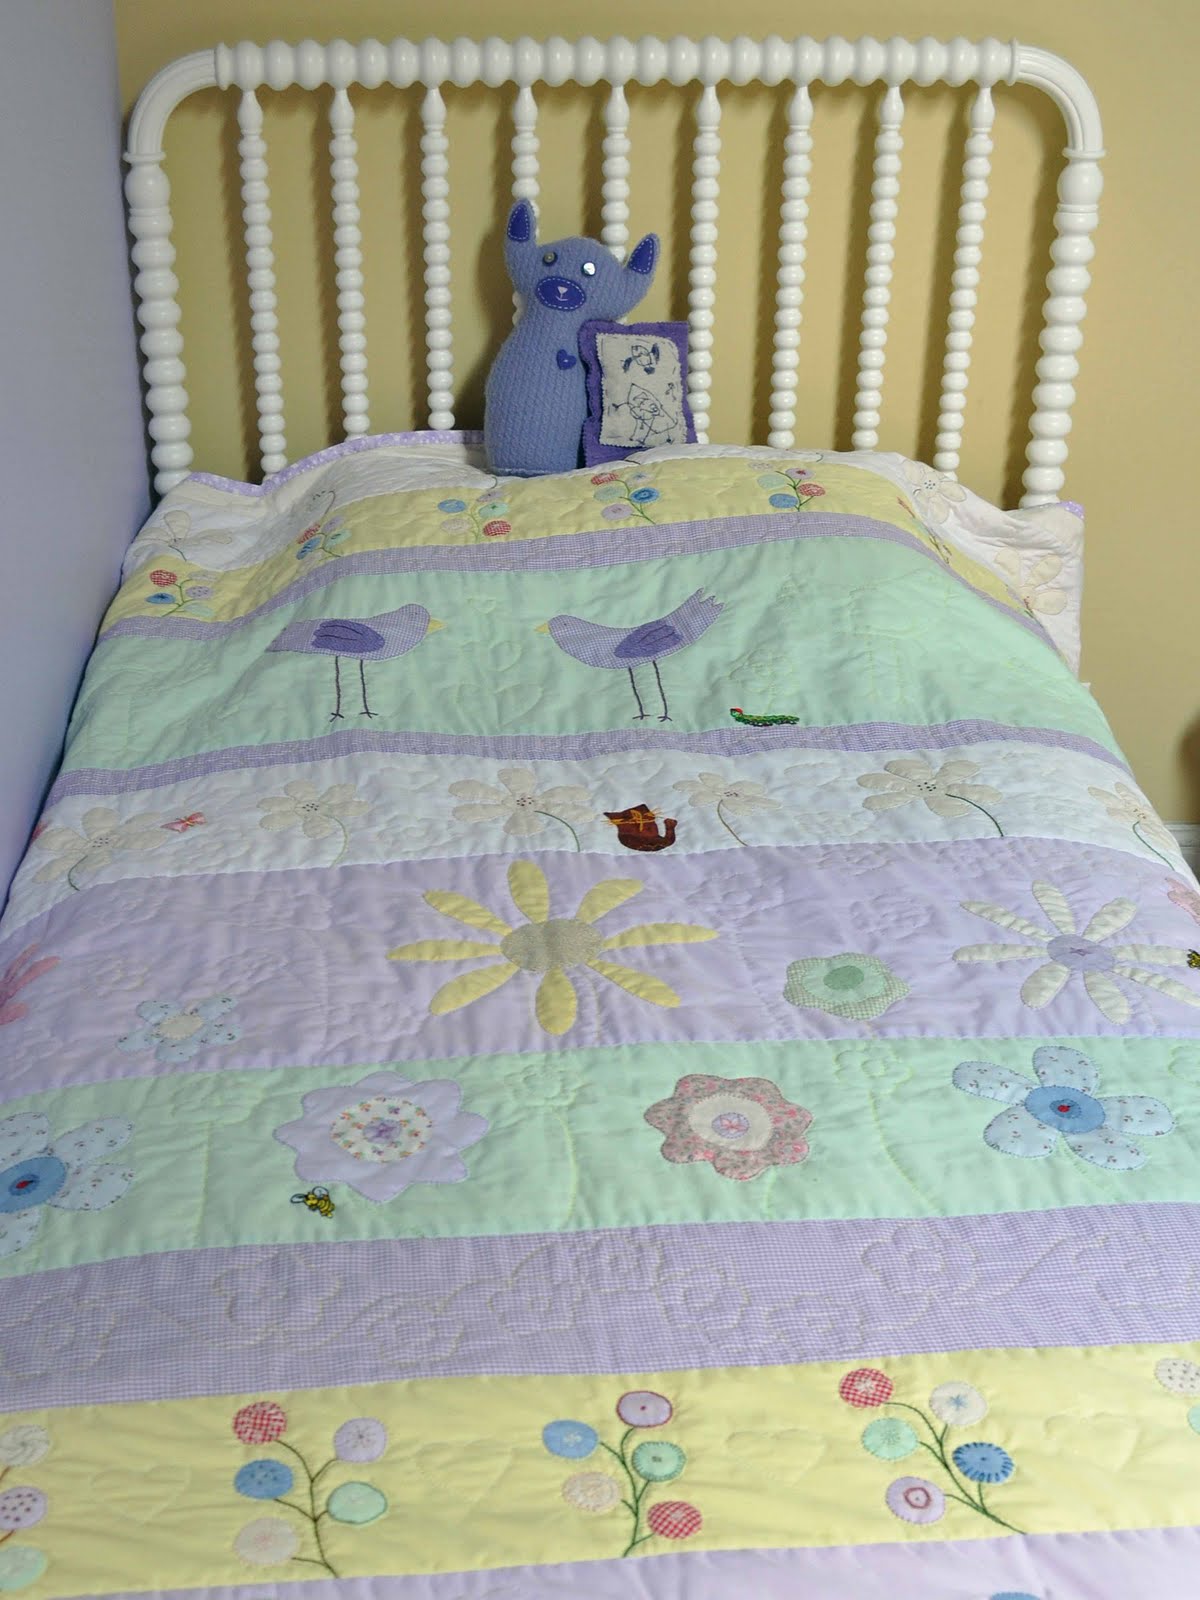
Last week my girls received very special gifts… Quilts that my mum has spent her last 4 years of evenings and weekends hand sewing - she has made one for each of her 4 granddaughters. That is 8 years of Sunbonnet Sue, birds and flowers.
While Eric tells the girls their bedtime stories, I like to gaze at the quilts and look at the perfect little stitches, uniform French knots and the uniqueness of each pretty flower.
Most of all I am reminded of all the beautiful unseen things that my mum wove into these quilts – her patience, wisdom, warmth and love.
Thursday, July 8, 2010
Crafty Birds - Making Cat and Rabbit Masks (and Tails)
The girls are into playing dress-up these days. They especially like being animals - cats and rabbits are favorites in our house.
Materials:
Cardboard
Felt
Scrap material
Elastic
Pen
Scissors
Glue and brush
Needle and thread
Step 1: Draw and cut animal shapes out of cardboard. To make the masks their own, let your child draw their own animal - Kira made a cat and Nola made a rabbit.
Step 2: Hold the mask up to your child and mark the eye holes. Cut out the eye holes.
Step 3: Paint the glue onto the cardboard mask and attach it to the felt.
Step 4: Cut the felt around the outside of the cardboard.
Step 5: Decorate with scrap material.
Step 6: Hold the mask up to your child so they can see through the eye holes. Mark where the elastic should fit. Make two slits in the cardboard and thread the elastic through the slits.
Step 7: Make sure the elastic is comfortable around your child's head and finish off the elastic by stitching a little cross.
To Make the Tails...
For the cat: cut out and sew a tail shape from scrap material, stuff and attach to ribbon.
For the rabbit: Make a large pom pom, tie a piece of ribbon around the middle of the pom pom that is long enough to tie around your child...
Labels:
Create,
Curly Birds Tutorial,
Dress Up,
Felt
Tuesday, July 6, 2010
Cat and Rabbit Masks (and tails...)
Our days are filled with drawing, cutting, gluing, and sparkling.
Most days we draw and cut and glue and sparkle and move onto playing.
Some days everything comes together - Kira’s vision, Nola’s flare, and my enthusiasm – and a whole new game is born.
Yesterday we had one of those days...
Friday, July 2, 2010
Zoo Exhibition
The girls and I made these snakes as part of lilla a's zoo exhibition. The invitation was to make a zoo animal out of a toilet paper roll. I cut the roll into 2 snake shapes for each girl to decorate.
I am always fascinated by how the girls' personalities are reflected in their artwork. Nola decorates casually with every medium available. Kira has a monotone idea in her head and she is very focused until she achieves it.
You can see the entire exhibition here.
Tuesday, June 29, 2010
Life-Sized Drawings
Today we had a very fun art play date with our friend Wynn. We made life-sized drawings of the girls and then they colored themselves in. I have done this project several times before, but it never gets old. Each time we repeat, I have a perfect record of their size and ability. It also makes a great gift for out-of-town family members.

Friday, June 25, 2010
Preserving Childhood Vacation Memories - Part II
The girls each made a special photograph album that is just for them. I printed out a selection of photographs from our trip and they each chose their favorites. Next, they stuck the pictures in the album using photo mount squares. They then decorated the pictures with pretty beach stickers. Each girl dictated their memories of the beach and we attached the page into the books.

Subscribe to:
Posts (Atom)


.jpg)